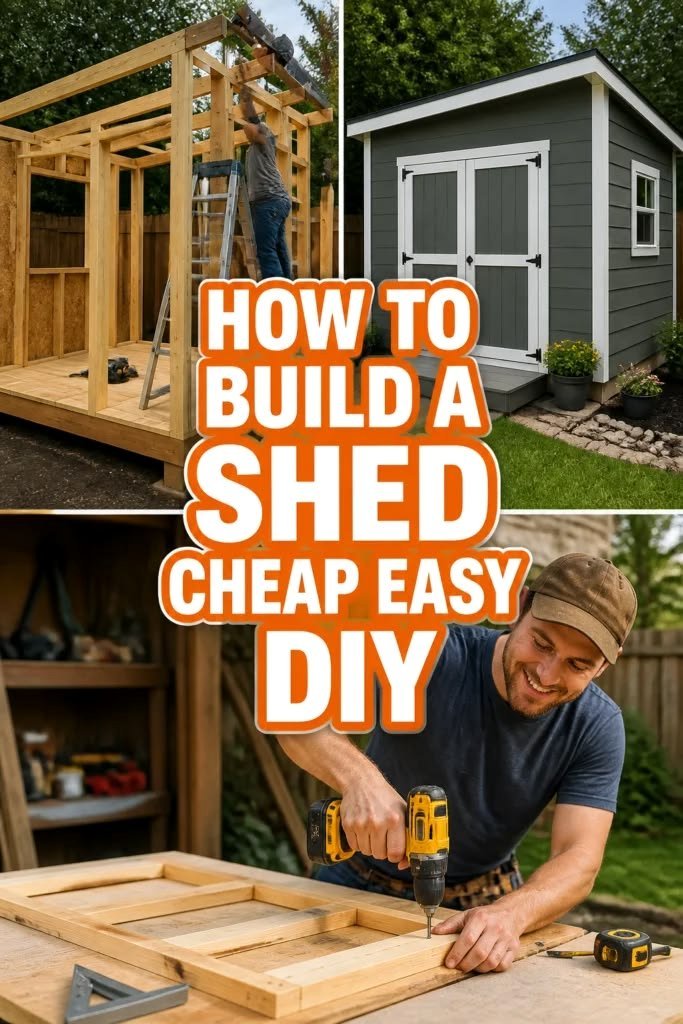
Building your own outdoor shed can be a rewarding way to create practical storage while adding useful character to your backyard. The right DIY shed plans can help you organize garden tools, seasonal items, bicycles, workshop supplies, and everyday equipment without making the process feel overwhelming. Whether you are planning a compact storage shed or a larger backyard workspace, a thoughtful design makes every stage easier.
Good shed planning starts before the first board is cut. You need to think about the available space, the purpose of the shed, the layout, the materials, and how you want the finished structure to look. With a clear plan, even a simple shed can become an attractive and highly functional addition to an outdoor area.
Key Takeaways
- Choose DIY shed plans that match your available space and building experience.
- Decide how the shed will be used before choosing its size and layout.
- Plan the foundation, framing, roof, doors, ventilation, and storage together.
- Use accurate measurements to reduce material waste and construction mistakes.
- Keep the exterior practical while adding simple design details that complement your yard.
Why DIY Shed Plans Are Worth Planning Carefully
A shed may look like a straightforward structure, but the details matter. A well-planned design can make construction smoother, improve storage capacity, and help the finished shed last longer. A poorly planned layout can leave you with awkward corners, wasted floor space, difficult door access, or a roof that does not suit the structure.
DIY shed plans give you a roadmap. They help you visualize the finished project before construction begins and make it easier to organize materials and tools. Even if you eventually adjust the design, starting with a clear plan gives you something practical to work from.
Important: The best shed design is not necessarily the biggest one. A compact shed with smart storage can be far more useful than a large structure with an inefficient layout.
Start by Defining the Purpose of Your Shed
Before comparing shed designs, decide what you actually want the building to do. A garden storage shed has different requirements from a backyard workshop, hobby room, or equipment shelter.
If the main goal is storing gardening supplies, you may want open shelving, tool hooks, a small work surface, and enough room for larger equipment. If you want a workshop, floor space and comfortable access become more important. A shed intended mainly for seasonal storage may benefit from taller shelving and overhead storage instead.
Think About What Needs to Fit Inside
Make a simple list of everything you expect to store. Include bulky items as well as small supplies. Measuring larger objects before finalizing the plan can prevent frustrating surprises later.
- Garden tools and hand tools
- Lawn and outdoor equipment
- Bicycles and recreational gear
- Boxes and seasonal decorations
- Woodworking or DIY supplies
- Planting materials and gardening accessories
Once you know what needs to fit inside, you can decide whether you need more floor area, additional wall storage, taller walls, or overhead shelving.
Choose the Right Shed Size
One of the most important decisions in any DIY shed project is determining the size. It is tempting to build as large as your yard allows, but a larger structure requires more materials, more preparation, and potentially more maintenance.
A smaller shed can work beautifully when its interior is organized efficiently. Wall-mounted racks, pegboards, shelves, hooks, and vertical storage can help keep the floor clear. If you are working with limited outdoor space, think upward as well as outward.
Measure the Available Area
Measure the proposed location carefully and consider more than the footprint. Leave enough room around the structure for access, maintenance, drainage, and opening the doors comfortably. Also think about how materials will be moved into the area during construction.
Sun exposure, nearby trees, slopes, water runoff, and existing structures can also influence the best location. A convenient spot near the house may be ideal for frequently used tools, while a less central location may work better for occasional storage.
Popular DIY Shed Plans to Consider
There is no single perfect shed style. The best option depends on the purpose, available space, desired appearance, and construction experience.
Compact Garden Shed
A small garden shed is useful when the main goal is keeping tools and outdoor supplies organized. Its compact footprint makes it suitable for many backyards, and simple shelving can provide plenty of storage without requiring a complicated interior.
Lean-To Shed
A lean-to design can be useful when space is limited or when you want the structure to sit alongside an existing wall. Its straightforward shape can also simplify the overall construction process.
Gable Roof Shed
A gable roof creates a familiar backyard appearance and provides useful vertical space inside. The roof shape can also complement traditional homes and garden settings.
Workshop Shed
A workshop-style shed needs more than storage space. You may want a sturdy workbench, electrical planning, task lighting, tool organization, and comfortable movement around the workspace. Planning these features from the beginning can make the shed much more enjoyable to use.
Plan the Foundation Before Framing
A stable foundation is one of the most important parts of a shed. The structure needs a suitable base that keeps it supported and helps protect the building from moisture and uneven ground.
The appropriate foundation depends on the shed design, site conditions, local requirements, and overall construction method. Common approaches can include compacted ground preparation, gravel-based foundations, concrete elements, or other support systems designed for the specific structure.
Do not rush this stage. A level and properly prepared base can make later framing much easier, while an uneven foundation can create problems throughout the project.
Build a Practical Interior Layout
The outside of a shed gets most of the visual attention, but the interior determines how useful it will be. Before construction, sketch where shelves, hooks, cabinets, work surfaces, and larger items will go.
Keep frequently used equipment easy to reach. Less frequently used items can occupy higher shelves or deeper storage areas. If you store long-handled tools, consider a dedicated vertical rack instead of leaning everything against a wall.
Expert Insight
Think about the interior while developing the exterior dimensions. A few inches of planning can determine whether shelves fit comfortably, doors open fully, and larger equipment can be moved in and out without frustration.
Pay Attention to the Roof Design
The roof is both a visual feature and an important protective element. Your DIY shed plans should clearly account for the roof shape, framing, pitch, covering, drainage, and appropriate weather protection.
A simple roof design can be easier for a beginner to understand, while a more distinctive roof may give the shed additional character. Whichever style you choose, make sure the roof works with the overall structure rather than treating it as an afterthought.
Good drainage matters too. Water should be directed away from vulnerable areas of the shed, and roof edges should be planned so rain does not continually fall against entrances or foundation areas.
Choose Materials With Durability in Mind
Material selection influences appearance, cost, maintenance, and longevity. Wood remains a popular choice for DIY sheds because it is versatile and can be adapted to many designs. Different exterior finishes can also create anything from a rustic garden look to a clean modern appearance.
When choosing materials, consider the local climate and how much maintenance you are willing to perform. Weather-resistant construction, suitable exterior protection, and good water management can all contribute to a longer-lasting shed.
- Prepare an accurate materials list before purchasing supplies.
- Separate structural materials from exterior finishing materials.
- Allow for fasteners, trim, hardware, and other small components.
- Check measurements before cutting boards or panels.
- Keep the construction area organized throughout the project.
Make the Door Work for Your Storage Needs
The door is one of the most important practical features of a shed. A narrow entrance may be fine for hand tools but can become a major obstacle if you plan to store bicycles, equipment, wheelbarrows, or large boxes.
Think about what needs to move through the doorway. Consider the door swing, surrounding clearance, hardware placement, and how easily the entrance can be used when the shed is full.
For a workshop or equipment shed, convenient access can make a noticeable difference. The entrance should support the way you intend to use the building rather than simply filling an opening in the wall.
Add Ventilation and Natural Light
A shed does not have to feel dark or stuffy. Depending on the purpose and design, ventilation openings and windows can improve comfort and airflow. Natural light can also make it easier to find tools and work inside during the daytime.
For a storage-focused shed, even a modest window or carefully positioned opening can make the interior feel more welcoming. A workshop may benefit from more deliberate lighting and ventilation planning.
Always consider weather protection when adding openings. The goal is to improve the interior environment without creating unnecessary paths for rain or moisture.
Simple Storage Ideas That Make a Big Difference
A well-organized shed can hold considerably more than an empty room of the same size. The key is to use walls, corners, doors, and vertical space intelligently.
- Install hooks for long-handled tools.
- Use sturdy shelves for smaller containers and supplies.
- Add a pegboard for frequently used hand tools.
- Keep a clear floor zone for bulky equipment.
- Use labeled containers for seasonal items.
- Consider door-mounted storage for lightweight accessories.
Pro Tip: Keep a small amount of empty storage capacity available. A shed that is packed completely on day one becomes difficult to reorganize when new tools or seasonal equipment arrive later.
Design the Exterior to Complement Your Yard
A shed can be highly practical without looking purely utilitarian. Simple choices in siding, trim, doors, roof details, and finish can help the structure blend naturally with the surrounding landscape.
Neutral exterior colors can create a calm backdrop for gardens, while natural wood finishes can emphasize a rustic or traditional feel. Clean lines and restrained details can create a more contemporary appearance.
You can also improve the setting around the shed with simple landscaping. A small path, planting bed, gravel border, or carefully positioned shrubs can make the structure feel like an intentional part of the yard rather than an isolated storage box.
A Practical DIY Shed Building Sequence
Once your design is finalized, breaking the project into logical stages can make the work easier to manage.
- Choose the location and verify the available space.
- Confirm applicable local building or property requirements.
- Prepare and level the foundation area.
- Build the floor or base according to the selected design.
- Frame the walls and install necessary structural supports.
- Prepare and install the roof structure and covering.
- Install exterior siding, trim, and protective finishes.
- Fit the doors and any windows or ventilation features.
- Organize the interior with shelves, hooks, and storage systems.
- Inspect the finished structure and address drainage, moisture, or access concerns.
The exact sequence can vary depending on the shed design and construction method. Follow the requirements and instructions associated with your chosen plan, especially for structural elements.
Common DIY Shed Planning Mistakes to Avoid
Many shed problems can be prevented before construction begins. One of the most common mistakes is underestimating how much storage space is actually needed. Another is forgetting to account for door clearance and the size of objects that need to enter the shed.
Ignoring the foundation can also cause unnecessary problems. The same applies to poor drainage and insufficient weather protection. A shed is exposed to the elements, so moisture management should be part of the plan from the start.
Another frequent mistake is focusing entirely on appearance. A beautiful shed that is difficult to access or poorly organized will quickly become frustrating. Function should guide the design, while decorative details provide the finishing touch.
How to Make Your Shed Project More Beginner-Friendly
If this is your first major DIY construction project, choose a design that matches your experience. A straightforward rectangular structure with a simple roof may be easier to understand than a complex design with multiple rooflines or unusual angles.
Read through the entire plan before starting. Make sure you understand the major stages and identify any steps that require specialized tools or additional experience. Preparing materials in advance can also reduce interruptions once construction begins.
Work carefully rather than rushing. Accurate measurements, square framing, level surfaces, and consistent checks can make a significant difference in the final result.
At a Glance
- Start with the shed’s purpose and available space.
- Choose dimensions based on what you actually need to store.
- Give the foundation, drainage, and roof careful attention.
- Plan interior storage before finalizing the layout.
- Keep the exterior simple, durable, and suited to your yard.
Conclusion: Turn Your Shed Plans Into a Useful Backyard Space
DIY shed plans can turn an empty section of your yard into practical storage, a dedicated workshop, or a flexible outdoor space. The most successful projects begin with thoughtful planning rather than rushing into construction.
Start by deciding what the shed needs to accomplish. Measure the available area, choose a suitable size, plan the foundation and roof, and think carefully about how the interior will be organized. From there, material choices and exterior details can help create a structure that feels both useful and attractive.
Whether you are planning a compact garden shed or a larger backyard workshop, a clear design gives you a much stronger starting point. Take your time with the measurements, keep the layout practical, and build around the way you actually use your outdoor space. With the right preparation, your DIY shed can become one of the most useful additions to your backyard.
Tags
DIY Shed Plans Shed Building Plans Backyard Shed Garden Shed Ideas DIY Outdoor Storage Woodworking Projects Small Shed Ideas