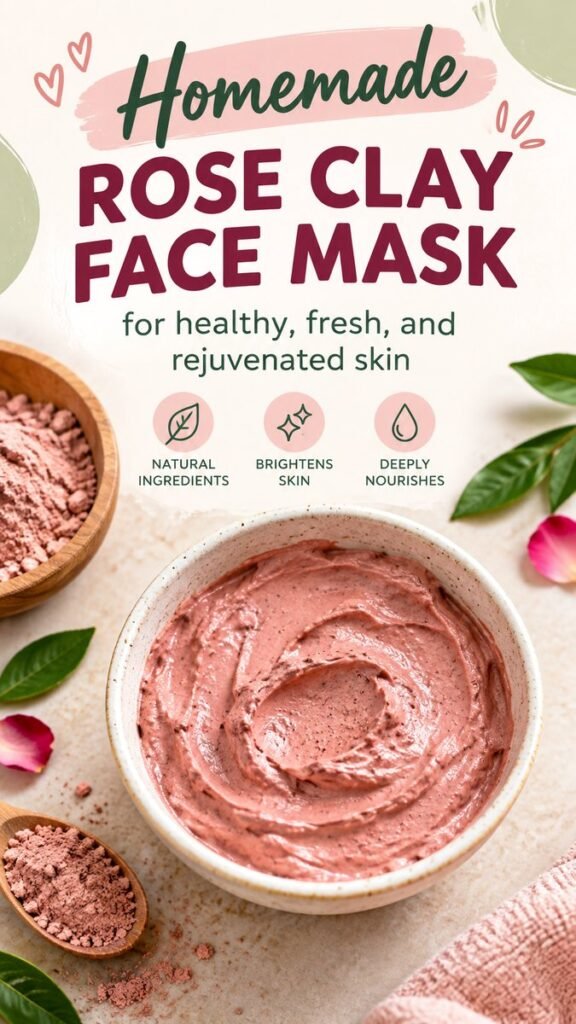
A simple skincare ritual can turn an ordinary day into a relaxing self-care experience, and a homemade rose clay face mask is a beautiful place to start. With its soft pink color, creamy texture, and natural-inspired ingredients, this DIY mask brings a spa-like feeling into your home without requiring a complicated routine. Whether you enjoy experimenting with homemade beauty recipes or want to add a gentle pampering step to your skincare schedule, a rose clay mask offers an appealing way to slow down and care for your skin.
This DIY mask guide explores how to prepare a simple rose clay face mask, choose suitable ingredients, apply it carefully, and build a comfortable skincare ritual. From mixing the perfect texture to understanding skin compatibility, you will find practical ideas to help you create a homemade face mask that fits your personal preferences.
Key Takeaways
- Rose clay can be used as the base for a simple homemade face mask.
- Gentle, compatible ingredients help create a comfortable skincare experience.
- A smooth, spreadable consistency makes application easier.
- Patch testing is important when trying unfamiliar skincare ingredients.
- Skin needs vary, so adjust your routine according to comfort and tolerance.
- Proper storage and clean preparation help support good skincare hygiene.
What Is a DIY Rose Clay Face Mask?
A DIY rose clay face mask is a homemade skincare treatment that uses rose-colored cosmetic clay as its primary ingredient. The clay is mixed with a suitable liquid or other gentle ingredients to create a paste that can be applied to the face. The finished mixture typically has a soft pink appearance and a creamy or smooth texture, similar to the mask shown in the visual inspiration.
Rose clay is often selected for its appearance and its suitability for simple cosmetic formulations. Depending on the specific clay product, it may help absorb some surface oil and leave the skin feeling cleansed. However, the effects vary by skin type, formulation, and individual sensitivity. A clay mask should be viewed as an occasional skincare step rather than a replacement for a complete daily routine.
The appeal of a homemade mask goes beyond its appearance. Preparing your own blend allows you to control the ingredients, adjust the consistency, and create a relaxing moment at home. You can keep the process simple or explore different combinations as you learn what works comfortably for your skin.
Why Rose Clay Is Popular in DIY Skincare
Rose clay has become a popular ingredient in homemade beauty recipes because of its delicate color and natural-inspired aesthetic. Its pink tone works beautifully with soft neutral packaging, wooden bowls, dried flower petals, and minimalist skincare arrangements. These visual details make rose clay especially appealing for anyone who enjoys creating Pinterest-worthy self-care routines.
From a practical perspective, cosmetic clay is commonly used in wash-off masks. Clay particles can absorb oil and moisture from the surface of the skin, which may be helpful for people who enjoy a fresh, clean feeling after cleansing. The result depends on the type of clay, how long it remains on the skin, and the rest of the recipe.
It is important not to assume that every rose clay mask provides the same benefits. Some products are formulated for cosmetic use, while others may contain additional ingredients that affect their performance. Always check the supplier’s directions and choose a clay specifically intended for skincare.
Potential Benefits of a Rose Clay Mask
- Oil absorption: Clay may help absorb some excess surface oil.
- Refreshing feel: A wash-off mask can provide a pleasant cleansing ritual.
- Gentle exfoliation during removal: Rinsing away the mask may help remove some surface residue, but avoid vigorous scrubbing.
- Self-care experience: Preparing and applying a face mask can create a relaxing pause in your day.
Important: Rose clay is not a guaranteed treatment for acne, pigmentation, wrinkles, or other skin concerns. Claims about brightening or rejuvenation should be understood as cosmetic expectations rather than proven results from every homemade recipe.
Simple Ingredients for a Homemade DIY Mask
One of the best things about a DIY rose clay mask is that you can begin with a short ingredient list. A simple formula is often easier to prepare, adjust, and evaluate than a recipe containing many unfamiliar ingredients.
1. Cosmetic-Grade Rose Clay
Rose clay forms the foundation of this mask. Choose a cosmetic-grade product from a reliable supplier and follow its intended usage instructions. The powder should be clean, finely textured, and suitable for topical cosmetic application.
Start with a small amount rather than preparing a large batch. This helps you experiment with the texture while reducing waste. A small bowl or clean mixing dish is sufficient for an individual application.
2. A Suitable Mixing Liquid
Water is a straightforward option for creating a basic clay mask. You can add it gradually until the powder forms a smooth paste. Some people prefer using a gentle, compatible cosmetic ingredient, but every additional ingredient introduces another potential source of irritation.
For a beginner-friendly approach, avoid adding numerous essential oils, fragrances, acidic ingredients, or kitchen products simply because they are popular in DIY skincare content. Natural does not automatically mean safe or suitable for facial skin.
3. Optional Gentle Ingredients
If you want to customize your mask, choose optional ingredients carefully and consider whether they are appropriate for your skin type. A fragrance-free, cosmetic-formulated ingredient may be preferable to an untested household mixture.
There is no need to add many ingredients to make the mask feel luxurious. A smooth texture, comfortable application, and careful removal are more important than creating a complicated formula.
How to Make a DIY Rose Clay Face Mask
Making a homemade rose clay mask is a simple process when you prepare your workspace and add the liquid slowly. The goal is a smooth mixture that spreads easily without being excessively watery or thick.
Step 1: Prepare Your Workspace
Begin with a clean bowl, a small mixing utensil, and clean hands. Choose a surface where you can work comfortably without rushing. If you are using a reusable tool, wash it thoroughly before preparing the mask.
Keep a clean towel nearby and make sure your face is free from makeup and other products before application. Preparing everything in advance makes the process more relaxing and helps maintain good hygiene.
Step 2: Add the Rose Clay
Place a small amount of cosmetic-grade rose clay into your mixing bowl. Begin with a modest quantity, especially if you are trying the recipe for the first time. You can prepare more later if needed, but a small batch is easier to manage.
Use a dry utensil to measure the powder and avoid introducing unnecessary moisture into the remaining clay product. Follow the product’s recommended preparation instructions whenever they are available.
Step 3: Add Liquid Gradually
Add a little water or another suitable mixing liquid to the clay. Stir gently after each addition. Continue gradually until the powder transforms into a creamy paste.
The mixture should be easy to spread without running down your face. If it looks too thick, add a very small amount of liquid. If it becomes too thin, adjust with a little more clay, provided the ingredients remain clean and suitable for use.
Step 4: Check the Texture
Before applying the mask, examine its consistency. A smooth paste is generally easier to distribute evenly than a mixture containing dry lumps. Stir gently until the texture looks consistent.
Avoid aggressively rubbing the powder against your skin during application. Clay masks are designed to be used according to their formulation instructions, and rough handling can cause unnecessary friction.
Step 5: Apply Carefully
Apply a thin, even layer to clean skin, avoiding the eye area, lips, and any irritated or damaged areas. Use clean fingertips or a dedicated cosmetic brush if appropriate for the product.
There is no need to create an especially thick layer. A comfortable application is more useful than using excess product. Keep the mask away from areas where the skin feels sensitive or compromised.
Step 6: Follow the Product Directions
Leave the mask on only for the time recommended by the clay product or recipe formulation. Do not assume that allowing the mask to dry completely will improve its results. Excessive drying may leave some skin feeling tight or uncomfortable.
If you notice burning, itching, significant redness, or discomfort, remove the mask immediately and rinse gently. Do not continue using a product that causes an adverse reaction.
Step 7: Rinse and Moisturize
Use lukewarm water to rinse away the mask without scrubbing. A soft, damp cloth may help remove remaining residue, but avoid rubbing the skin aggressively.
After rinsing, gently pat your face dry with a clean towel. Follow with a moisturizer that suits your skin type. This final step can help support skin comfort, particularly if the clay leaves your skin feeling dry.
Expert Insight
A DIY face mask should complement your skincare routine, not overwhelm it. A short ingredient list, gentle application, and careful observation of your skin’s response are often more valuable than adding multiple trendy ingredients. If your skin feels tight, irritated, or uncomfortable, reduce use or discontinue the mask.
How to Customize Your DIY Mask for Different Skin Types
Every person’s skin responds differently to cosmetic ingredients. A mask that feels comfortable for one individual may be too drying or irritating for another. Understanding your skin’s general needs can help you make more thoughtful choices.
For Oily Skin
People with oily skin may enjoy the fresh feeling associated with clay-based masks. However, frequent use or overly long application can leave the skin feeling dry. Begin with occasional use and monitor how your skin responds.
A lightweight moisturizer can still be useful after rinsing. Oily skin benefits from appropriate hydration, so avoid treating all surface oil as something that must be completely removed.
For Dry Skin
Dry skin may be more sensitive to products that absorb oil or moisture. If your skin is dry, consider using a simpler formula and applying the mask for a shorter period, subject to the product directions.
Follow the treatment with a gentle moisturizer. If clay masks repeatedly leave your skin uncomfortable, they may not be the best choice for your routine.
For Sensitive Skin
Sensitive skin requires additional care when introducing homemade skincare products. Patch testing can help identify potential reactions, although it cannot guarantee that a product will be safe for full-face use.
Choose simple, fragrance-free ingredients where possible, and avoid applying the mask to areas affected by irritation, active skin damage, or a flare-up. If you have a diagnosed skin condition or ongoing sensitivity, consult a qualified healthcare professional before experimenting with DIY treatments.
For Combination Skin
Combination skin may have both oily and dry areas. Instead of applying the same amount of product everywhere, consider whether certain areas need different treatment. A gentle, limited application may be more comfortable than covering the entire face with a thick layer.
Pay attention to how your skin feels after rinsing. Your routine should support comfort rather than leave some areas excessively dry.
DIY Mask Safety Tips You Should Know
Homemade skincare can be enjoyable, but it deserves the same thoughtful approach as any cosmetic product. Ingredients that are safe for one purpose may not be appropriate for facial application, and even familiar ingredients can cause irritation or allergic reactions.
- Patch test first: Test unfamiliar ingredients on a small area according to appropriate cosmetic safety guidance.
- Use cosmetic-grade ingredients: Choose products intended for skincare rather than assuming any powder or clay is suitable.
- Avoid the eye area: Keep the mask away from the eyes and mucous membranes.
- Do not apply to damaged skin: Skip areas with cuts, irritation, or active skin injury.
- Avoid harsh additions: Be cautious with lemon juice, undiluted essential oils, abrasive particles, and strongly fragranced ingredients.
- Stop if irritation occurs: Rinse the product off if you experience burning, itching, or uncomfortable redness.
Important: A homemade mask is not automatically safer than a commercially formulated skincare product. Professional formulations often undergo testing for stability, contamination, and ingredient compatibility. Fresh DIY mixtures can spoil or become contaminated, especially when prepared or stored incorrectly.
How Often Should You Use a Rose Clay Face Mask?
There is no universal schedule that works for everyone. The ideal frequency depends on the product formulation, your skin type, and how your skin responds. Some people may prefer occasional use, while others may find clay masks unsuitable for regular application.
Start conservatively and observe your skin after each use. If you experience dryness, tightness, or irritation, allow your skin to recover and reconsider whether the mask is appropriate for your routine.
It is also helpful to avoid introducing several new skincare products at the same time. If you change multiple parts of your routine, it can become difficult to identify which ingredient caused a reaction.
How to Create a Relaxing At-Home Skincare Ritual
The visual appeal of a rose clay face mask makes it ideal for a calming self-care moment. You do not need an elaborate setup to create a pleasant experience. A clean space, a comfortable towel, and a few quiet minutes can make your routine feel special.
Keep Your Setup Simple
Arrange your bowl, mixing utensil, towel, and skincare products before you begin. A wooden spoon, neutral-colored dish, or soft pink accessory can add a cozy aesthetic without affecting the mask itself.
Choose clean tools and avoid sharing homemade skincare mixtures with others. Individual preparation helps reduce the risk of cross-contamination.
Pair the Mask With Gentle Self-Care
While the mask is being prepared or applied, take a few moments to relax. You might read, listen to calm music, or simply step away from your daily responsibilities. The skincare ritual can be valuable even when the cosmetic effects are subtle.
Remember that healthy-looking skin is influenced by many factors, including genetics, environmental exposure, skincare habits, and overall health. A face mask can be one small part of a broader routine.
Common Mistakes to Avoid When Making a DIY Mask
Even a simple recipe can become less enjoyable when preparation is rushed. Avoiding common mistakes helps you create a more consistent and comfortable experience.
Using Too Much Powder
Adding a large amount of clay may create a thick mixture that is difficult to spread. Begin with a small quantity and adjust the consistency gradually. A thin, even layer is often easier to manage than a heavy coating.
Adding Too Much Liquid
Excess liquid can make the mask runny and messy. Add small amounts while stirring to maintain better control over the final texture.
Leaving the Mask on Too Long
Longer application does not necessarily mean better results. Follow the product directions and remove the mask if your skin begins to feel uncomfortable.
Storing a Fresh DIY Mixture
Fresh mixtures containing water can support microbial growth, especially when preservatives are absent. For this reason, preparing a small amount for immediate use is generally preferable to storing leftover wet clay.
Keep unused dry ingredients sealed according to the supplier’s instructions, and use clean tools whenever you prepare a new batch.
How to Make Your Rose Clay Mask Pinterest-Worthy
If you enjoy sharing beauty inspiration or creating a visually appealing self-care corner, rose clay offers plenty of styling possibilities. Its soft pink color pairs naturally with neutral surfaces, natural wood, greenery, and simple ceramic bowls.
For a clean aesthetic, choose a limited color palette. Cream, blush pink, muted green, and warm beige can create a soft and cohesive appearance. You can arrange a small bowl of dry clay beside your mixing dish, add a clean towel, and use natural lighting to capture the texture.
Focus on authenticity rather than making unrealistic skincare promises. A beautiful photo can communicate the simplicity of the routine while keeping the message practical and approachable.
At a Glance: DIY Rose Clay Mask
Quick Points
- Use cosmetic-grade rose clay.
- Add liquid slowly for a smooth texture.
- Apply a thin layer to clean, intact skin.
- Follow the product’s recommended application time.
- Rinse gently and moisturize afterward.
Final Thoughts on Creating a DIY Mask at Home
A homemade rose clay face mask is a simple way to explore a calming skincare ritual while enjoying the soft, elegant appearance of pink clay. With a few carefully selected ingredients, a clean workspace, and a gentle approach, you can create a relaxing moment that feels both practical and enjoyable.
The most important part of any DIY mask is understanding your skin’s needs. Choose cosmetic-grade ingredients, test unfamiliar products carefully, avoid harsh additions, and pay attention to how your skin responds. A consistent skincare routine does not need to be complicated to feel rewarding.
Whether you are preparing a mask for a quiet self-care evening or looking for fresh DIY beauty inspiration, this rose clay idea is a lovely starting point. Keep your preparation simple, make safety a priority, and enjoy the process of creating a skincare ritual that works for you.