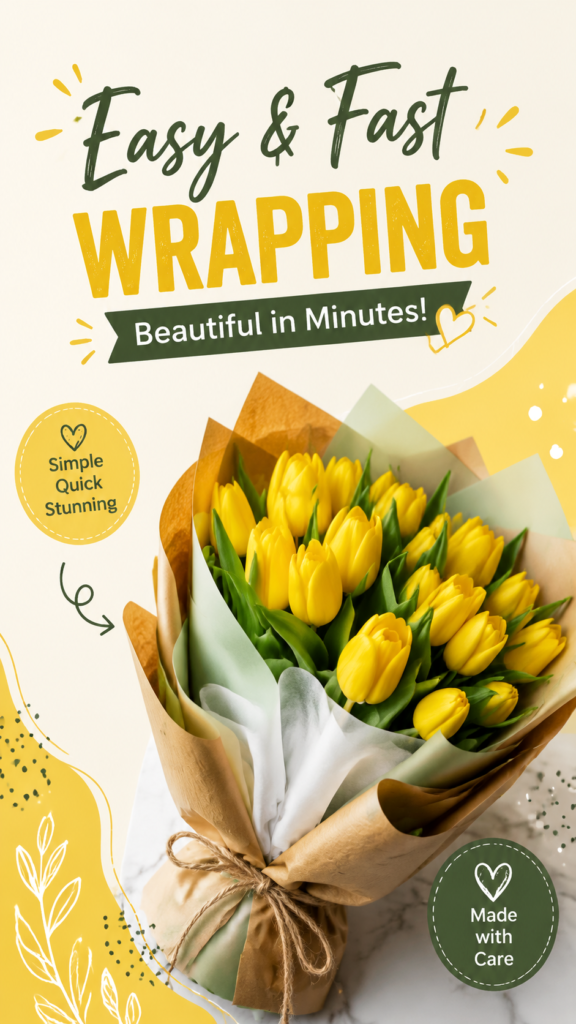
A beautifully wrapped bouquet can transform simple flowers into a thoughtful gift, a charming home accent, or a memorable handmade creation. Learning how to create a diy bouquet wrap is an easy way to add personality and elegance to your floral arrangements without needing professional skills. With the right materials, a little creativity, and a few simple techniques, anyone can design a bouquet that looks polished, stylish, and ready to impress.
Key Takeaways
- Choose wrapping materials that complement the colors and style of your flowers.
- Layer different textures like paper, tissue, and ribbons for a professional look.
- Simple bouquet wrapping techniques can create beautiful handmade gifts.
- Natural details such as twine and kraft paper add a warm, rustic touch.
- A thoughtful presentation makes even a small bouquet feel extra special.
Why DIY Bouquet Wrap Ideas Are Becoming So Popular
Flower arrangements have always been a meaningful way to celebrate moments, show appreciation, and brighten everyday spaces. However, the way flowers are presented has become just as important as the flowers themselves. A creative diy bouquet wrap adds an artistic finishing touch that turns a simple bunch of blooms into something personal and memorable.
Modern bouquet wrapping focuses on simplicity, natural textures, and thoughtful details. Instead of complicated designs, many people prefer clean layouts featuring soft papers, neutral tones, fresh greenery, and handmade accents. This approach creates an elegant appearance while keeping the process enjoyable and accessible.
Whether you are preparing flowers for a friend, decorating your home, or exploring a new craft hobby, learning how to wrap a bouquet gives you the freedom to create arrangements that match your own style.
Important: The wrapping is part of the gift experience. A carefully chosen paper, ribbon, or texture can make flowers feel more intentional and show the extra care behind your creation.
Choosing the Right Materials for a Beautiful Bouquet Wrap
The best diy bouquet wrap projects start with selecting materials that enhance the flowers rather than hide them. The wrapping should support the natural beauty of the bouquet while adding structure and visual interest.
Popular Wrapping Materials to Try
- Kraft paper: Creates a warm, natural appearance and works beautifully with rustic floral designs.
- Tissue paper: Adds softness, volume, and an elegant layered effect.
- Transparent wrapping sheets: Helps create a modern, clean presentation.
- Ribbon or twine: Provides the finishing detail that holds everything together.
- Fabric wraps: Offer a reusable and creative alternative to traditional paper.
The combination of materials often creates the most attractive results. For example, pairing a neutral kraft paper layer with a soft inner wrap can give a bouquet a balanced look that feels both stylish and handmade.
How to Create an Easy DIY Bouquet Wrap Step by Step
Creating a wrapped bouquet does not require advanced floral design experience. Following a few simple steps can help you achieve a professional-looking arrangement at home.
Step 1: Prepare Your Flowers
Start by arranging your flowers evenly. Remove any damaged leaves and trim the stems so the bouquet has a clean shape. Keeping the stems organized will make wrapping easier and help the final design look balanced.
Step 2: Arrange the Wrapping Layers
Place your wrapping paper at an angle and position the bouquet slightly above the center. Folding the paper around the flowers creates a natural cone shape that gives the arrangement height and movement.
Step 3: Secure the Bouquet
Use ribbon, string, or twine to hold the wrap securely. This small detail can completely change the overall style of the bouquet. A simple bow creates a classic look, while a natural fiber tie gives a more relaxed handmade feel.
Step 4: Add Personal Details
Personal touches make diy bouquet wrap designs unique. Consider adding a small handwritten note, a decorative tag, or a mix of textures to create a thoughtful presentation.
Expert Insight
A beautiful bouquet does not need excessive decoration. The most appealing designs usually balance natural flowers with simple wrapping choices that highlight shape, color, and texture.
- Focus on harmony between flowers and wrapping colors.
- Use layers to create depth without making the bouquet look crowded.
- Let the natural beauty of the flowers remain the main focus.
Creative DIY Bouquet Wrap Styles to Explore
There are many ways to personalize a bouquet wrap depending on the mood you want to create. From minimalist arrangements to cozy handmade styles, experimenting with different combinations can help you discover your favorite look.
Minimal Modern Bouquet Wrap
A modern bouquet often uses simple colors, clean lines, and limited decorations. White, beige, soft green, and neutral shades create an elegant appearance that works well for many occasions.
Rustic Natural Bouquet Wrap
For a cozy handmade style, combine kraft paper, dried textures, and natural string. This approach creates a charming look that feels warm and personal.
Colorful Creative Bouquet Wrap
Bright wrapping materials can make flowers feel playful and energetic. Mixing bold colors with fresh blooms creates a cheerful arrangement that stands out.
Common DIY Bouquet Wrapping Mistakes to Avoid
Even simple crafts can become easier when you know what to avoid. Many beginners focus only on making the bouquet secure but forget that presentation and balance are equally important.
- Using too much wrapping material: Excess paper can cover the flowers and make the arrangement feel heavy.
- Choosing colors that compete with the flowers: The wrap should complement the bouquet, not distract from it.
- Skipping the final adjustments: Small changes to folds, ribbons, and flower placement can improve the finished look.
Taking a few extra moments to refine the details can make a handmade bouquet look carefully designed rather than simply wrapped.
Why Handmade Flower Wrapping Makes Gifts More Meaningful
A diy bouquet wrap adds a personal element that store-bought arrangements often cannot provide. The time spent selecting materials, arranging flowers, and creating the presentation becomes part of the gift itself.
Handmade wrapping also allows you to match the bouquet to the person receiving it. Soft colors can create a romantic feeling, while bright combinations can bring energy and happiness. The possibilities are endless when you design with intention.
Pro Tip: Save leftover wrapping materials from previous projects. Small pieces of ribbon, paper, and decorative elements can become useful details for future bouquet creations.
At a Glance
- DIY bouquet wrapping is simple, creative, and affordable.
- Layered textures create a professional floral presentation.
- Natural materials add warmth and handmade charm.
- Personal details make every bouquet unique.
Conclusion: Create Beautiful Bouquets With Your Own Style
Learning how to create a diy bouquet wrap is a rewarding way to make flowers even more special. With simple materials, thoughtful choices, and a little creativity, you can transform ordinary blooms into beautiful handmade arrangements.
Whether you prefer a modern minimalist style, a rustic natural look, or a colorful creative design, bouquet wrapping gives you endless opportunities to express your personality. The beauty of this craft comes from the small details that show care and creativity.
Start experimenting with different papers, textures, and finishing touches to create your own signature floral style. A beautifully wrapped bouquet is more than flowers. It is a thoughtful gesture made with imagination and heart.