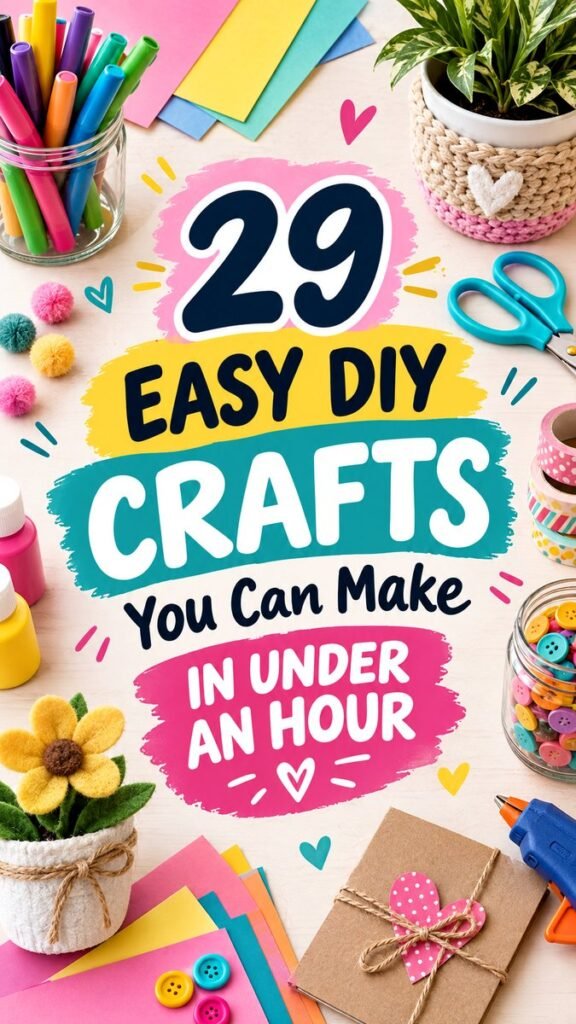
DIY projects become much more enjoyable when you know a few simple tips and tricks that help you work smarter, stay organized, and turn basic supplies into something creative. Whether you love colorful paper crafts, handmade decorations, painted projects, or quick weekend creations, having the right approach can make every project feel easier. With a small collection of craft supplies, a little imagination, and a few practical shortcuts, you can create beautiful pieces without spending hours preparing.
The best DIY tips and tricks are often surprisingly simple. Organizing materials before you begin, choosing the right tools, working in manageable steps, and finding creative uses for everyday supplies can save time and reduce frustration. These ideas are especially helpful for beginners, but experienced crafters can also use them to make their creative sessions smoother and more efficient.
Key Takeaways
- Organize craft supplies before starting a project.
- Keep frequently used tools within easy reach.
- Use simple shortcuts to reduce preparation time.
- Choose materials based on the project instead of buying everything at once.
- Experiment with color, texture, layering, and simple embellishments.
- Keep a small collection of reliable supplies ready for spontaneous projects.
Start With a Simple DIY Craft Station
A dedicated crafting area can make a huge difference. You do not need a large studio or an entire room. Even a small section of a table can become a practical DIY workspace when it is arranged thoughtfully. The colorful craft setup suggests an environment filled with paper, paint, brushes, scissors, tape, buttons, decorative materials, and other creative essentials.
Begin by clearing enough space to work comfortably. Place your main materials in the center and keep tools such as scissors, brushes, markers, and adhesive nearby. This simple arrangement prevents you from constantly stopping to search for supplies.
If your crafting area doubles as another part of your home, use small containers or trays to keep everything easy to move. A shallow tray can hold the materials for one project, while jars and small boxes can store frequently used items. The goal is not perfect organization. The goal is making your next creative session easier to begin.
Keep Everyday Tools Within Reach
Some tools appear again and again in DIY projects. Scissors, glue, brushes, markers, rulers, tape, and craft knives can become the foundation of a useful craft kit. Keep your most frequently used tools in one accessible location instead of storing everything separately.
A clear jar is particularly useful for paintbrushes, pens, and markers because you can see what you have at a glance. It also adds a cheerful handmade feel to the workspace. Small containers work well for buttons, beads, clips, embellishments, and other tiny pieces.
Important: A well-organized workspace does more than look attractive. It reduces interruptions, makes supplies easier to find, and helps you spend more of your creative time actually making things.
Use Color to Make Simple Crafts Stand Out
Color is one of the easiest ways to make a basic DIY project feel more polished. A collection of bright paper, colorful tape, paint, yarn, buttons, or markers can provide endless combinations without requiring complicated techniques.
Instead of using every color at once, choose two or three main shades and add one contrasting accent. For example, a combination of pink, turquoise, and yellow can create an energetic look, while neutral paper with one bright accent can feel cleaner and more modern.
Color can also help organize a project visually. Use one shade for the background, another for the main feature, and a third for small details. This creates a sense of structure even when the craft itself is very simple.
Layer Paper for Instant Dimension
Layering is an easy DIY trick that can make flat materials look much more interesting. Stack different sizes of colored paper, cardstock, or decorative pieces to create depth. Slightly overlapping shapes can make a simple card, wall decoration, gift package, or scrapbook element feel more detailed.
Try mixing different textures as well. Smooth paper can be paired with textured cardstock, fabric scraps, ribbon, buttons, or small decorative pieces. You do not need many materials. A few contrasting textures can create plenty of visual interest.
Make the Most of Basic Craft Supplies
One of the most useful DIY tips is to look at ordinary craft supplies in more than one way. Colored paper can become backgrounds, shapes, labels, cards, decorations, or gift details. Washi tape can create borders, patterns, labels, and decorative accents. Buttons can add personality to paper crafts, fabric projects, gift wrapping, and handmade decorations.
Before buying something new, look through your existing supplies. You may already have materials that can be combined into a completely different project.
- Use colorful paper for layered backgrounds and decorative shapes.
- Repurpose leftover ribbon as a finishing accent.
- Use buttons to add texture and small pops of color.
- Turn scraps into tags, labels, bookmarks, or miniature decorations.
- Use decorative tape to create quick borders and patterns.
- Keep small leftover pieces for future mixed-media projects.
Create a Scrap Box
A scrap box is one of the easiest ways to make your craft supplies work harder. Instead of throwing away every small piece of paper, ribbon, cardboard, or decorative material, collect reusable pieces in one container.
When you need a quick DIY project, open the box and see what inspires you. Small scraps can become collage pieces, decorative layers, gift tags, paper flowers, cards, bookmarks, and colorful accents. This approach also makes spontaneous crafting much easier because you already have a collection of materials ready to use.
Why This Matters
Quick crafts are easier when preparation is simple. Keeping basic materials sorted and reusable scraps nearby means you can begin creating without spending half your time gathering supplies.
Use Shortcuts Without Losing Creativity
DIY does not have to mean making every single component from scratch. Smart shortcuts can help you finish a project faster while still giving it a handmade appearance.
For example, pre-cut paper shapes can speed up layered projects. Decorative tape can replace time-consuming painted patterns. Ready-made embellishments can add detail when you want a finished look without spending extra time creating tiny components.
The key is knowing where to simplify. Save your creative energy for the parts that make the project unique. If a simple background can be prepared quickly, there is no reason to spend most of your crafting session on it.
Pro Tip: Think of every project as a combination of essential steps and decorative details. Simplify the steps that do not affect the final look, then spend your time on the details that give the finished piece personality.
Prepare Materials Before You Begin
Gathering supplies first is a simple habit that can make DIY projects feel much more organized. Read through the project idea, decide what you need, and place the materials on your workspace before beginning.
If you are making several similar projects, prepare the materials in batches. Cut several pieces of paper at once, organize embellishments together, and arrange tools where they are easy to reach. Batch preparation can reduce repetitive tasks and make the actual creative work feel faster.
Try Easy DIY Projects When Time Is Limited
You do not need an entire afternoon to enjoy crafting. Many simple projects can be completed during a short creative break. The trick is choosing ideas with straightforward steps and materials that are already available.
Colorful Paper Decorations
Paper is ideal for quick crafts because it is inexpensive, versatile, and easy to cut. Try making layered shapes, simple garlands, decorative cards, paper flowers, or small wall accents. Mix several colors and sizes to create a more playful result.
Decorated Gift Packaging
Plain wrapping can become much more personal with a few simple additions. Add colorful paper shapes, ribbon, decorative tape, buttons, or a handmade tag. Small details can completely change the appearance of a basic package.
Simple Painted Accessories
Paint can transform everyday craft surfaces with very little effort. Use a small brush to add dots, stripes, simple flowers, geometric patterns, or abstract shapes. Let each layer dry before adding another to keep the design clean.
Keep Your DIY Workspace Easy to Reset
A creative workspace does not need to stay perfectly clean while you work. In fact, a little creative mess is often part of the process. What matters is having a quick reset routine when the project is finished.
Return scissors and brushes to their usual containers, put unused materials back into storage, separate scraps worth keeping, and dispose of materials that are no longer useful. Wipe down the surface if necessary, then leave the basic tools ready for the next session.
This small routine can make it much easier to start another project later. Instead of facing a completely cluttered table, you return to a workspace that is already prepared for creativity.
Store Small Supplies by Type
Small items can quickly become difficult to manage. Group similar supplies together so you know where to look when you need them. Keep buttons with buttons, tapes with tapes, paper pieces with paper pieces, and embellishments in their own containers.
Transparent containers are particularly convenient because they allow you to see your supplies without opening every box. If you prefer closed storage, simple labels can make the system just as effective.
Add Personality With Small Details
The difference between a basic craft and a memorable one often comes down to small details. A contrasting button, an unexpected color combination, a textured border, or a tiny handmade embellishment can make a project feel personal.
Do not worry about making every detail perfectly symmetrical. Handmade projects often look more inviting when they retain a little character. Experiment with different arrangements before permanently attaching anything.
If you are unsure about a design, place all the pieces on the surface first. Take a moment to look at the overall composition. Move elements around until the colors and shapes feel balanced, then secure everything in place.
DIY Tips for Beginners
Starting with simple crafts is a great way to build confidence. Choose projects that use familiar materials and have only a few major steps. As you become more comfortable, experiment with different textures, techniques, and combinations.
- Start with materials you already own.
- Choose one simple project instead of collecting too many ideas at once.
- Measure and plan before cutting important materials.
- Test colors and layouts before attaching pieces permanently.
- Keep your tools organized while you work.
- Save successful techniques for future projects.
Most importantly, allow yourself to experiment. DIY crafting is about creating something with your own hands, not producing a flawless object every time. A project that looks slightly different from your original plan can still become something you love.
At a Glance
- Organize first so crafting feels easier.
- Use color and texture to add visual interest.
- Reuse scraps and everyday materials creatively.
- Choose shortcuts that save time without removing personality.
- Keep your favorite tools ready for the next project.
Turn DIY Tips Into a Creative Habit
The most useful DIY tips and tricks are the ones you can continue using from project to project. A tidy supply system, a small collection of dependable tools, a box for reusable scraps, and a willingness to experiment can make crafting more accessible every day.
You also do not need a complicated project to enjoy the process. A few sheets of colorful paper, some tape, paint, buttons, scissors, and a little creativity can provide plenty of opportunities to make something useful or decorative.
Keep your favorite ideas together so you can return to them whenever inspiration strikes. Save projects that match your skill level, collect techniques you want to try, and gradually build your own collection of reliable DIY shortcuts.
Conclusion: Make More With Simple DIY Tricks
Creative projects do not have to be complicated to be rewarding. With a few practical DIY tips and tricks, ordinary craft supplies can become colorful decorations, thoughtful handmade gifts, creative accessories, and fun projects for your home.
The biggest advantage of a smart DIY approach is that it makes creativity easier to fit into everyday life. Organize your supplies, prepare your workspace, reuse what you already have, and simplify the steps that do not need extra effort. Then give yourself plenty of freedom to experiment with colors, textures, shapes, and personal details.
Whether you are a beginner looking for easy crafts or an experienced maker searching for faster ways to work, these simple habits can help you spend less time preparing and more time creating. Keep your favorite supplies nearby, try one small project at a time, and let each new craft inspire the next one.
Tags
DIY Tips DIY Tricks Easy Crafts Craft Hacks DIY Ideas Craft Organization Creative Projects Beginner Crafts